Podcast Blastoff Blog

How To Create Your Website Title

Nathan Fraser

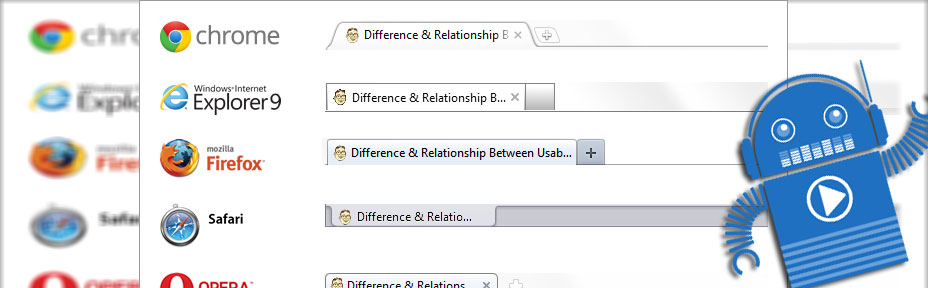
The first thing you’re going to want to do is fill in the SITE TITLE information. This is what will be displayed in the browser tap when someone is view your website.

This is also the first thing Google looks at for relevance when somebody does a search for the topic of your podcast, so it’s pretty important that you fill this out.

We’re going to give you some best practice tips for using this feature, and then show you how to access it for your BlastPod website.

The biggest mistake people make is to only put their podcast name in this tab. It looks pretty, but it does not help you get found on searches. I add my podcast name, but I put it last, as google determines relevance based on order of appearance. For this reason, I plug in my related keywords, first, and my podcast name, last.

Keywords are the words that you want to show up for in the search engine. What is your podcast about? Who would be your ideal listener? What are they likely to be searching for on the internet that you would want your podcast to show up in the search results?

You want to keep it short, under 55 characters, and related to the focus of your show. I use a pipe to separate keywords, have two sets of keywords, followed by my site name. The pipe is the shifted key, located directly above the Enter key. It looks like this, “|”. An example of a good SITE TITLE is “Liberty Entrepreneur | Podcast | LiveFreeFM”.

My podcast is about liberty and entrepreneurship, so I want it to show up when people search for those keywords. I also want people looking for podcasts to see me, so I put “Podcast” in the second keyword batch. Lastly, I put the name of my site, incase people are looking specifically for my show.

If your podcast is about classic cars, and it’s called HotRodCast, a good site would be “Hot Rods | Classic Cars | HotRodCast”. To set the SITE TITLE for your BlastPod website, go to Site Configuration, and fill in the information in the top left input box. Remember to use the pipe “|” key to separate keywords. Once you have entered the information you want to be displayed, simply scroll down the page and click on the “Save Changes” button.

Now, your site is ready to be found by the search engines. It may take a lot of work to reach the front page, but getting your SITE TITLE is the first step to that goal.

Podcast Blastoff Blog

How To Add Custom Headers

Nathan Fraser

The header is the first thing that people will see when they visit your BlastPod website. It gives them a visual experience to relate to your podcast. It can also establish your brand or introduce you, as the host.

In this post, you will discover some design secrets for creating a good header image. You will also get some tips on how to best design a header that will look beautiful on your BlastPod website.

If you are trying to brand yourself, a picture of yourself in your header is a great way to make an instant connection with your listener. If your podcast is related to a business or a brand of its own, a logo that people can immediately recognize is a great idea. Whatever you decide, just remember, the header is the best way to instantly convey to your listener exactly what your website is all about.

When creating a header for your BlastPod website, there are a few things to keep in mind. Let’s start with size requirements. All BlastPod templates default to 1400 pixels wide. This means, your header must also be 1400 pixels wide. It can be between 150 and 450 pixels tall, depending on how you want your site to look. This is totally up to your discretion.

If you plan on having the search bar visible, it is best to not have important information on the right hand side of the header image, as this is where the search bar will overlay. Same thing goes for if you want to display your social links in your header area. If you plan on having the search bar, and your social links displayed, I wouldn’t go with a header any shorter than 275 pixels tall.

To upload your custom header for your BlastPod website, go to Site Configuration, look for Site Masthead Image, and click the Change Image button. You can choose the image to manually upload, or drag the image file into the drag and drop field. Remember, the header image must be 1400 pixels wide, and between 150 and 450 pixels tall.

Once your image has been uploaded, scroll down to the bottom of the page, and click Save Changes. Your header image has now been changed. You can view your changes, and make sure it looks the way you want it to.

Now, let’s customize your mobile header. Every BlastPod site is mobile friendly. This helps your search engine results. It also makes sure that your podcast website displays beautifully on all devices. The only thing you have to do to take advantage of the mobile option, is upload a custom mobile header image.

Your mobile header image must be 630 pixels wide, by 100 pixels tall. Mobile headers are only ever seen on mobile devices, so the image will most often be displayed on a smaller screen. Because of this, it is best to keep the mobile header simple in design. A single color background and your site name in an easy to read font is what I recommend.

Keep in mind, the background color of your mobile hamburger menu will be the primary color of your color scheme. Since the hamburger menu sites right next to the header, if you make your mobile header background the same color, it will be a seamless transition.

To upload your mobile header artwork, navigate back to Site Configuration. Once there, click on the Change Image button, located under the Mobile Masthead Image title. Make sure your image is 630 px wide, and 100 px tall, and upload it the same way you did your Site Masthead Image.

Once your mobile header image is uploaded, click save to continue. Congratulations, you BlastPod website has now been personalized for your podcast.